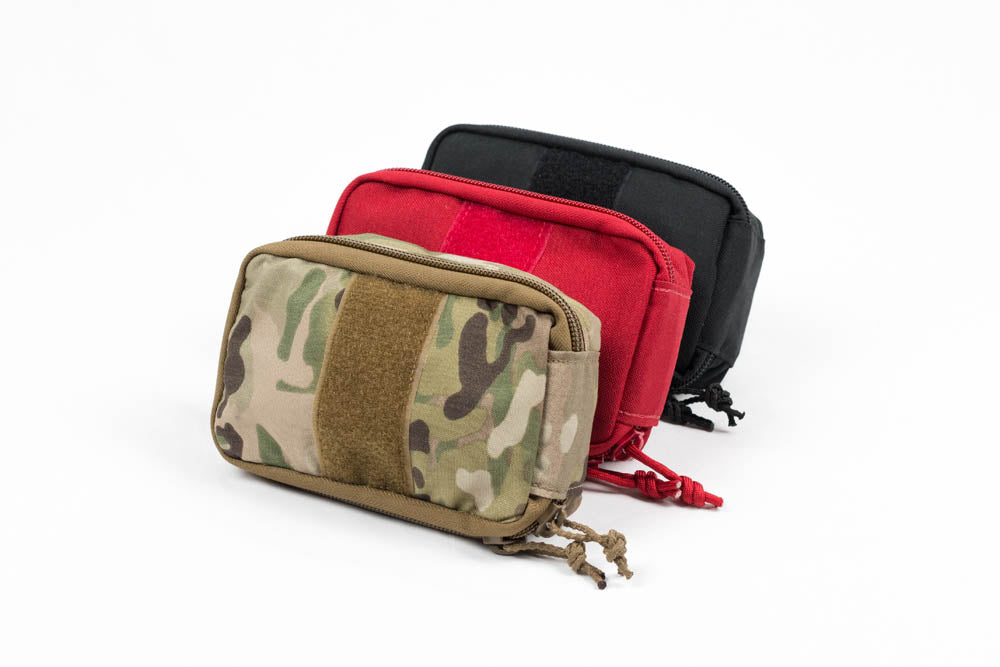
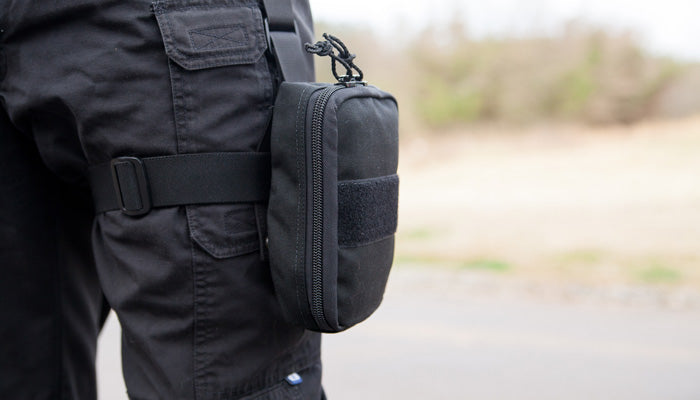
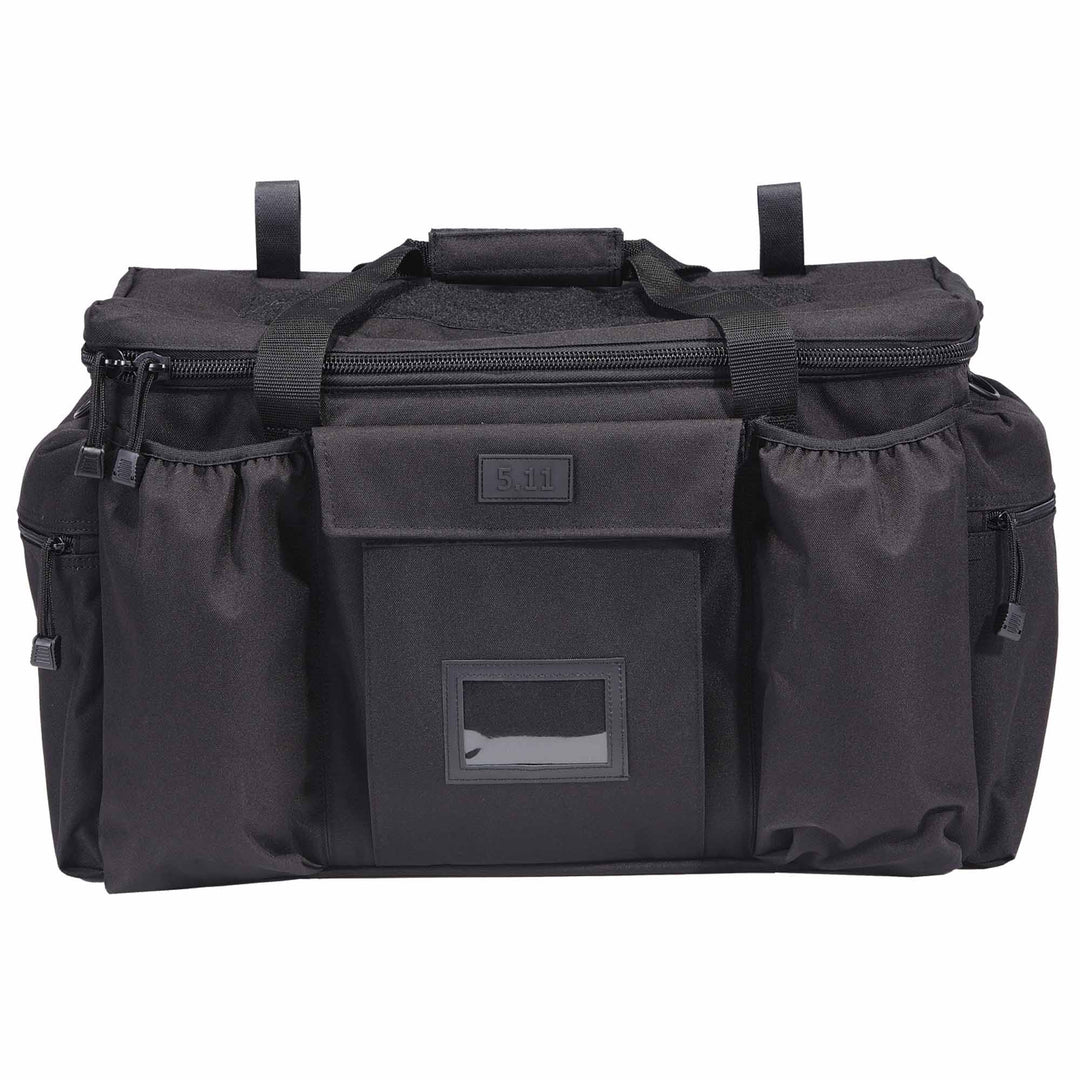
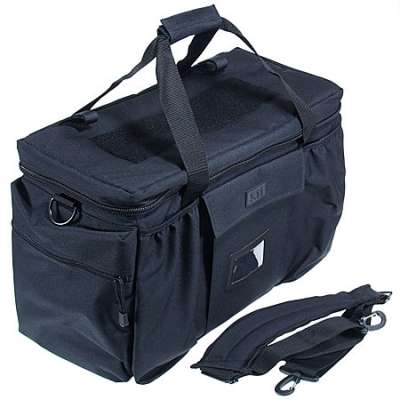
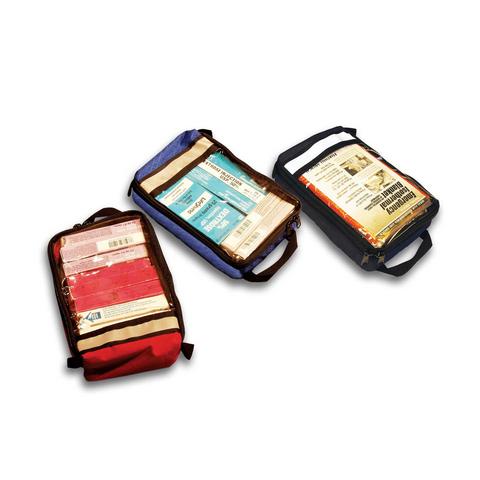
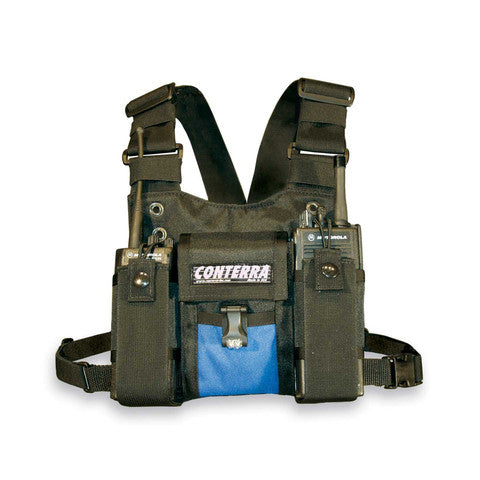
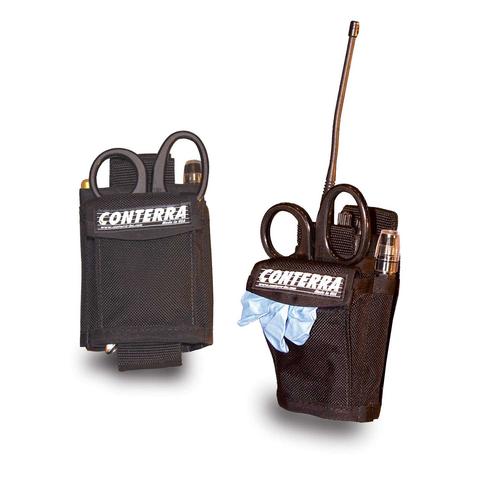
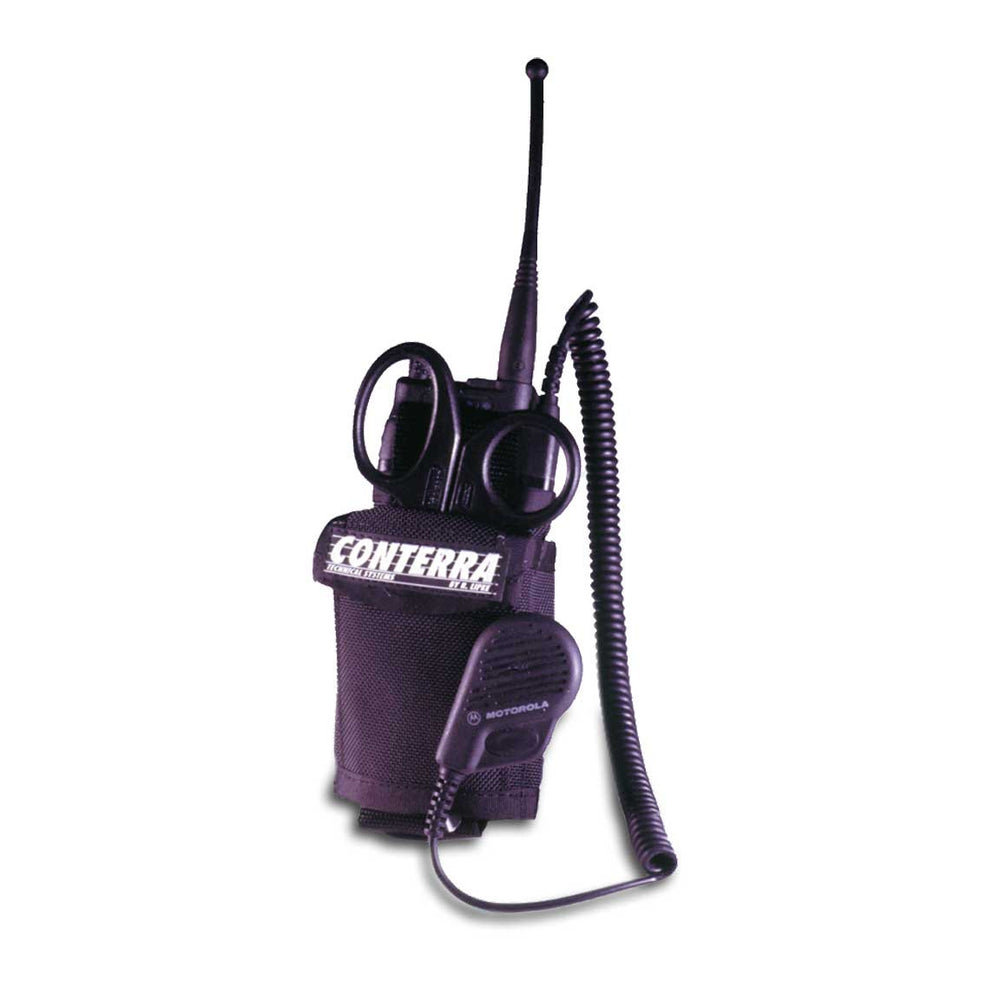
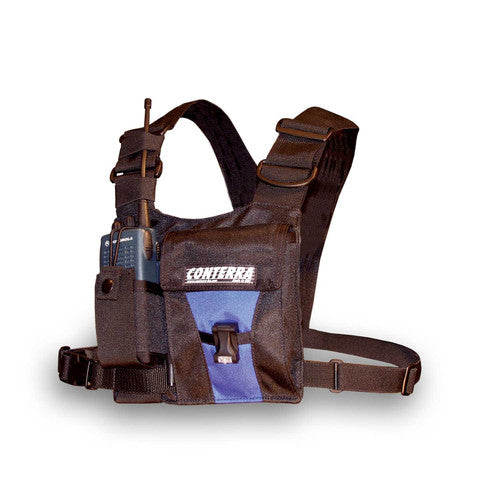
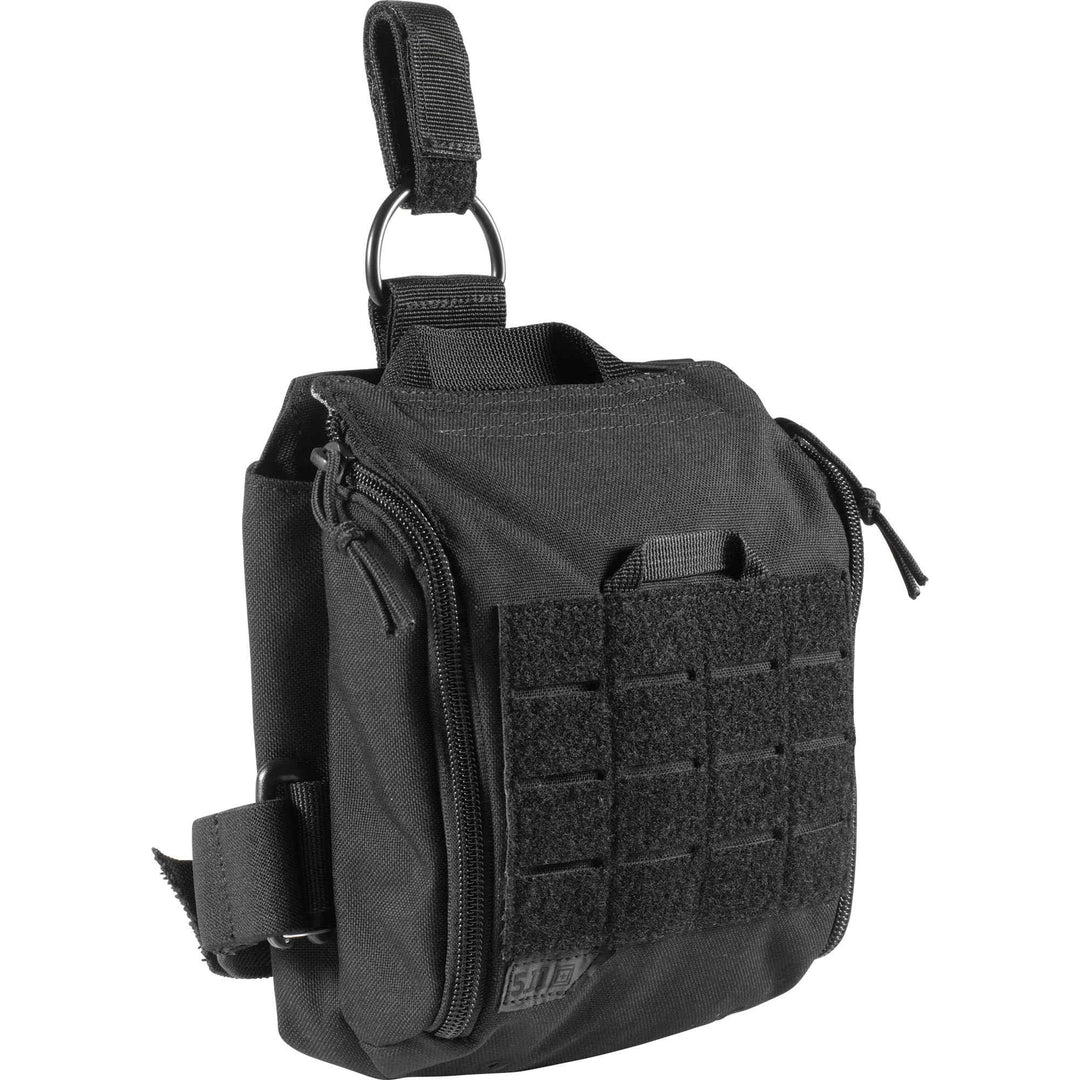
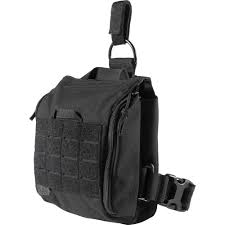
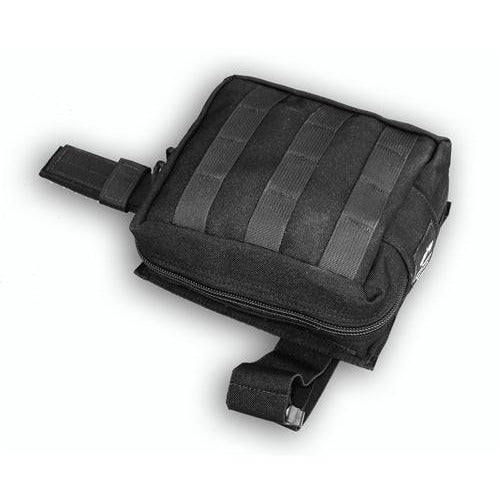
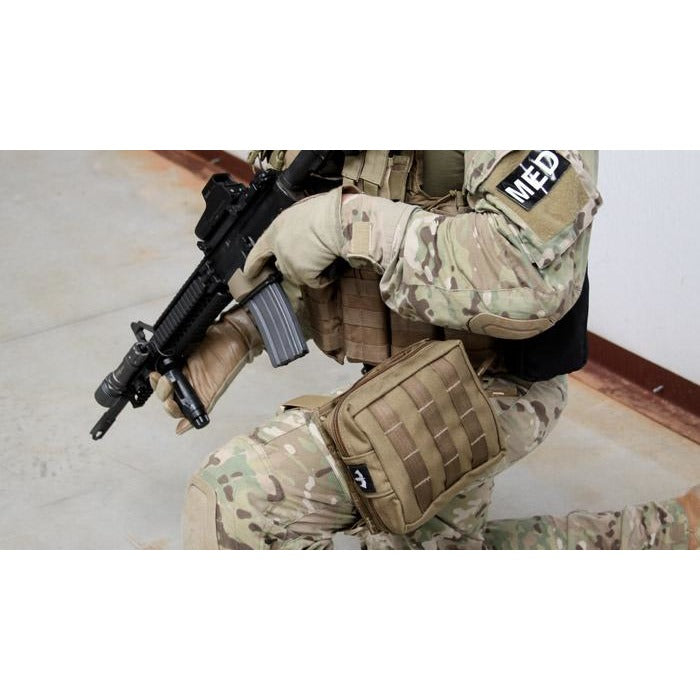
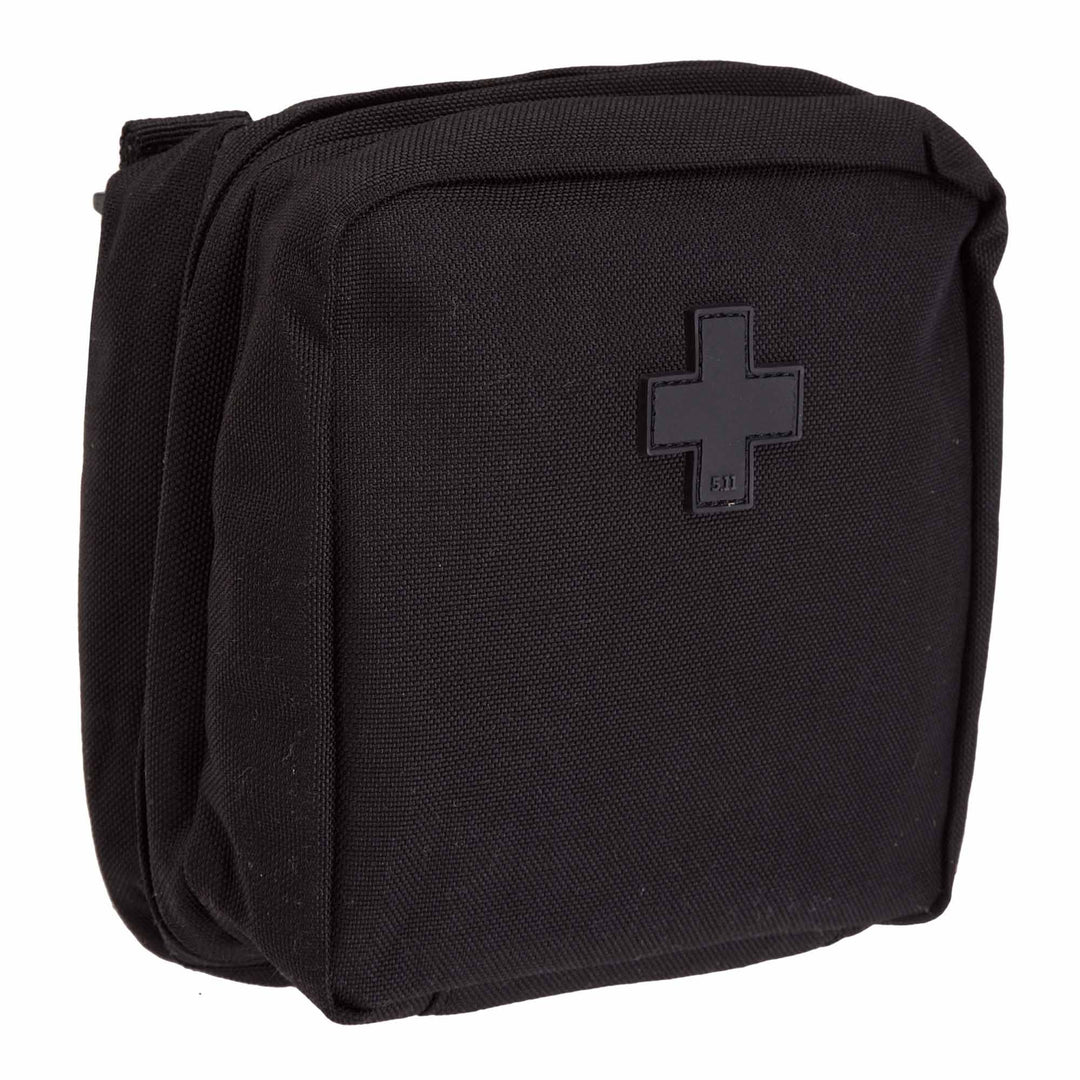
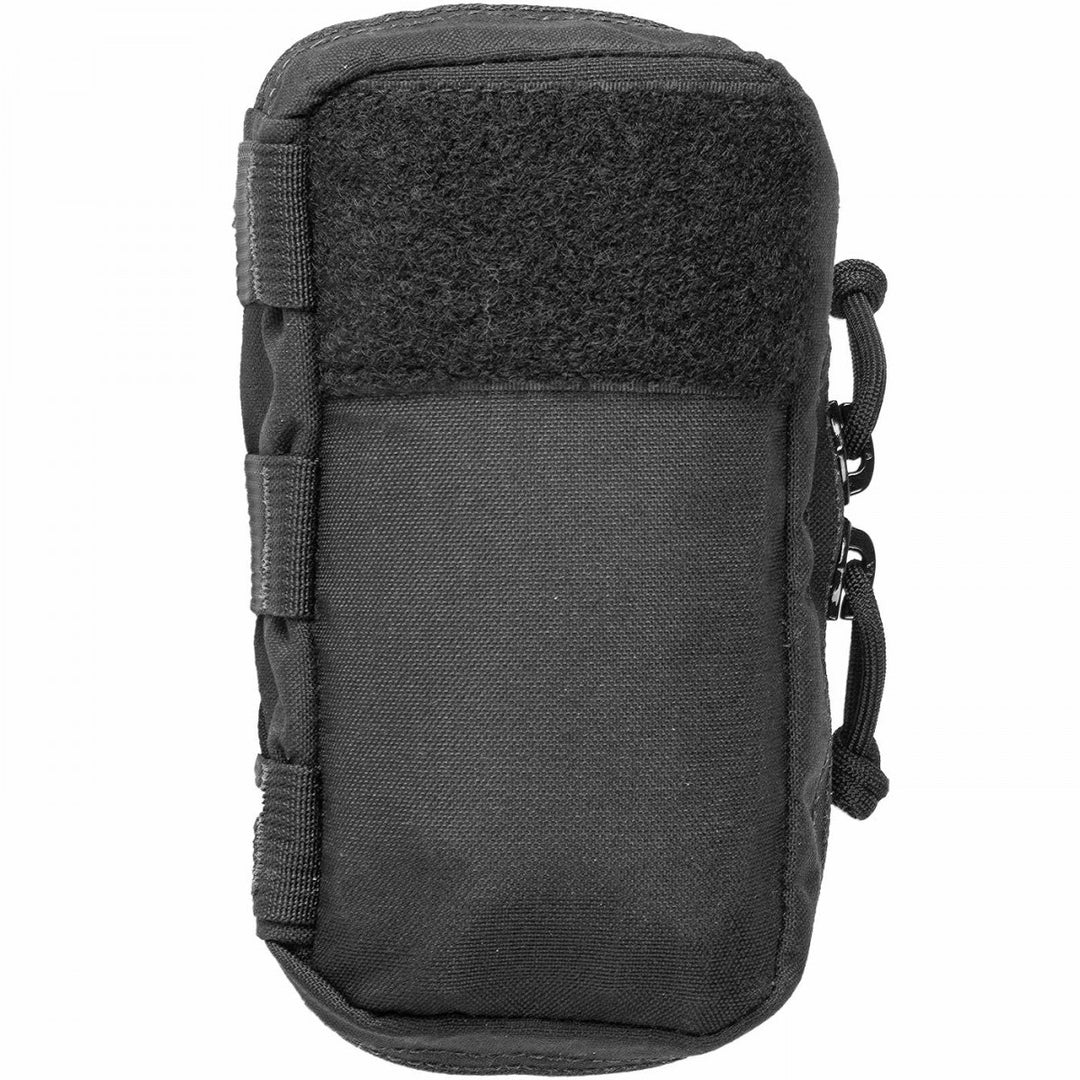
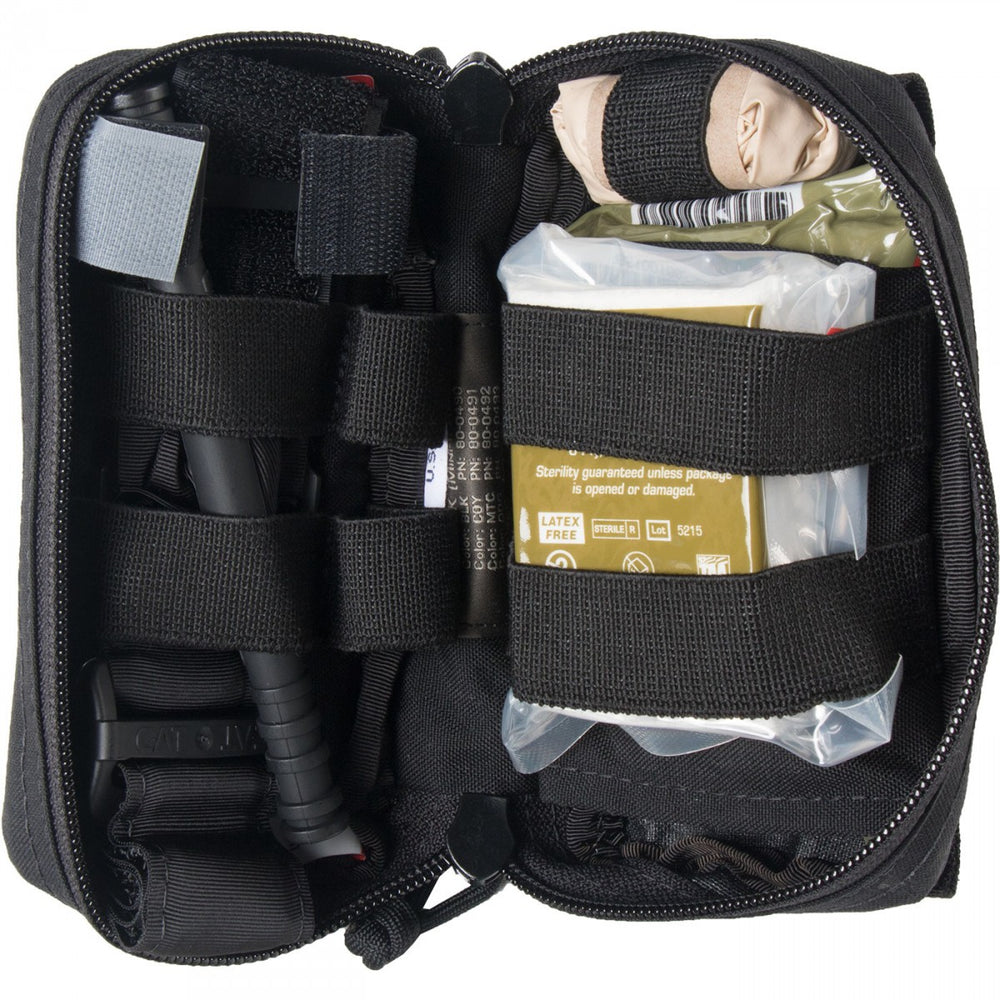
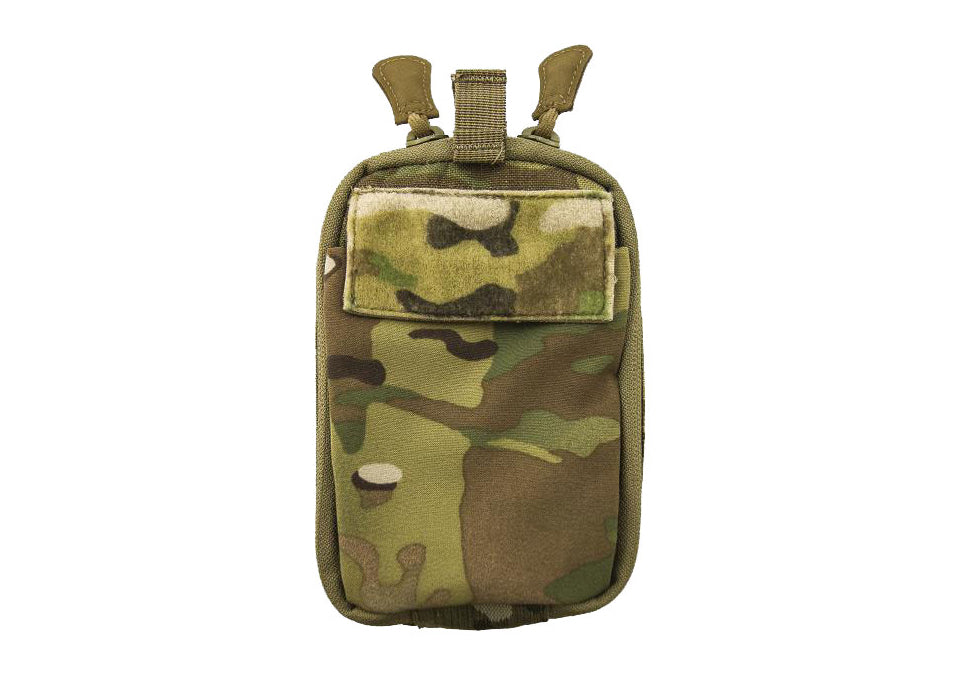
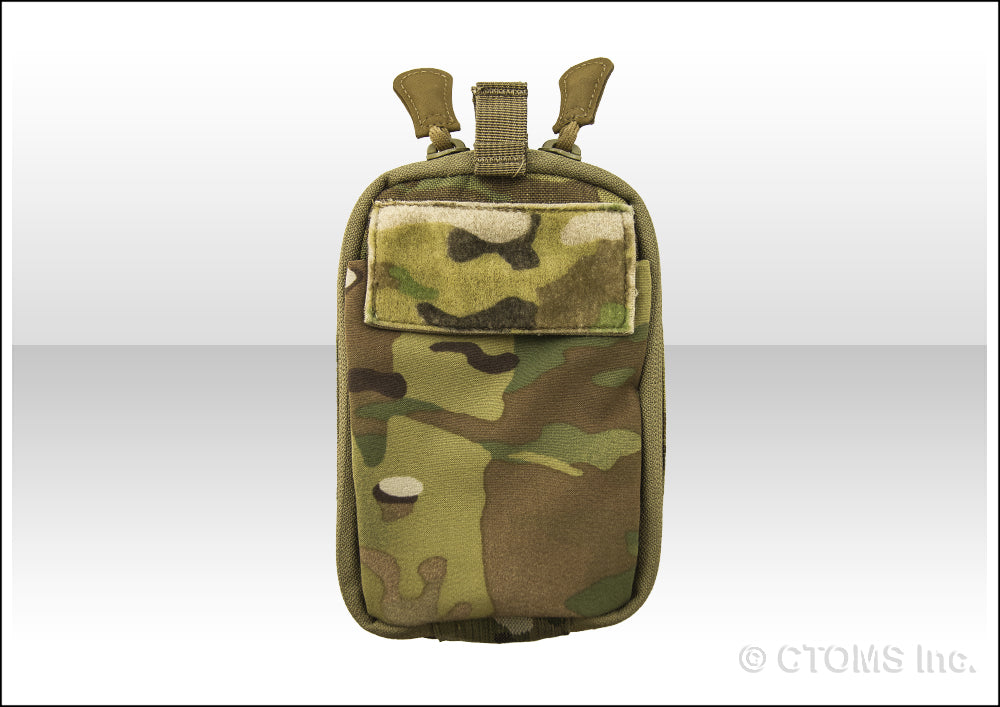
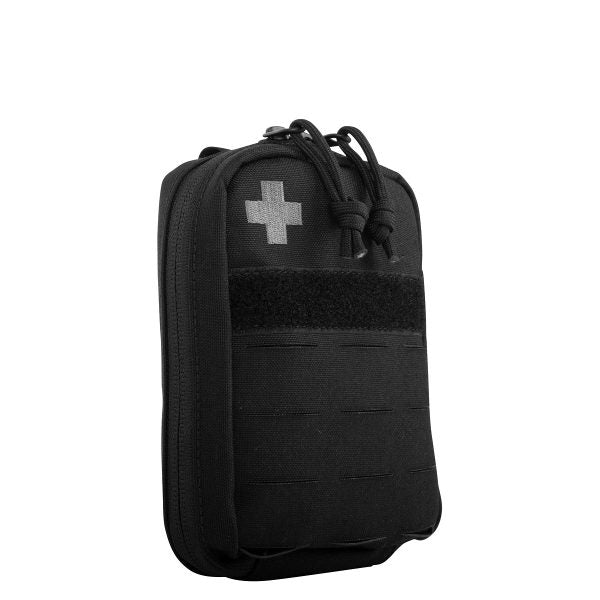
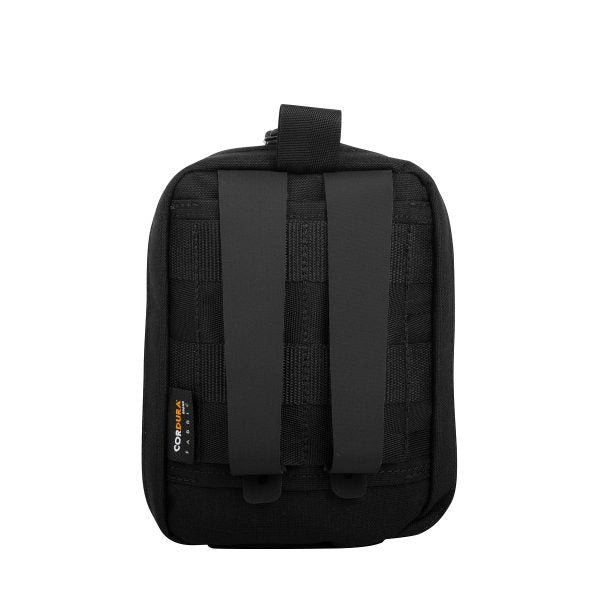
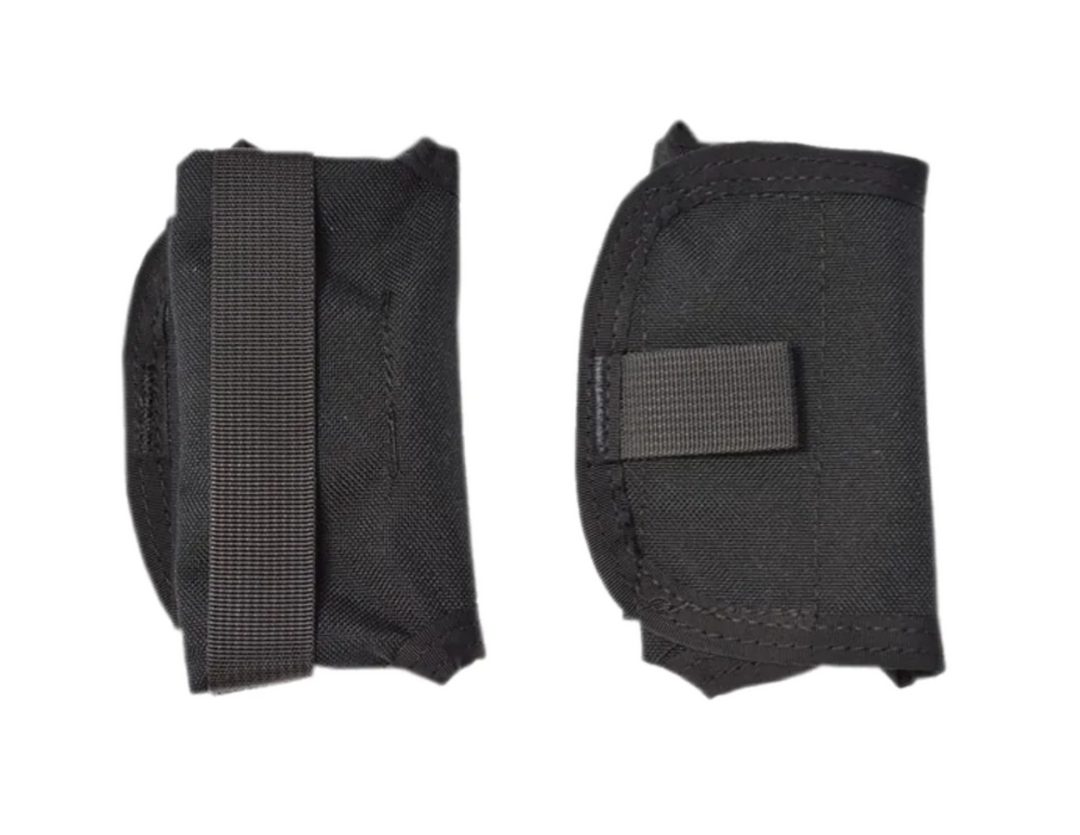
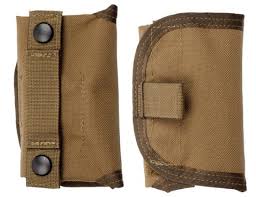
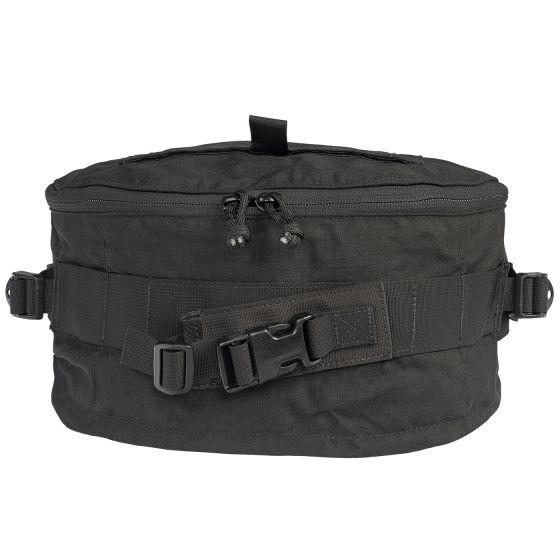
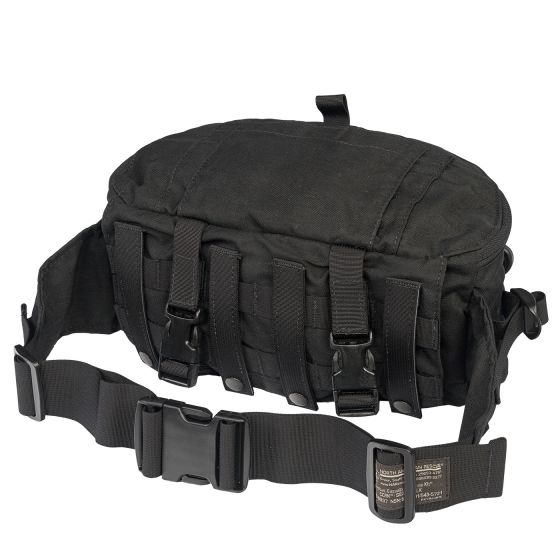
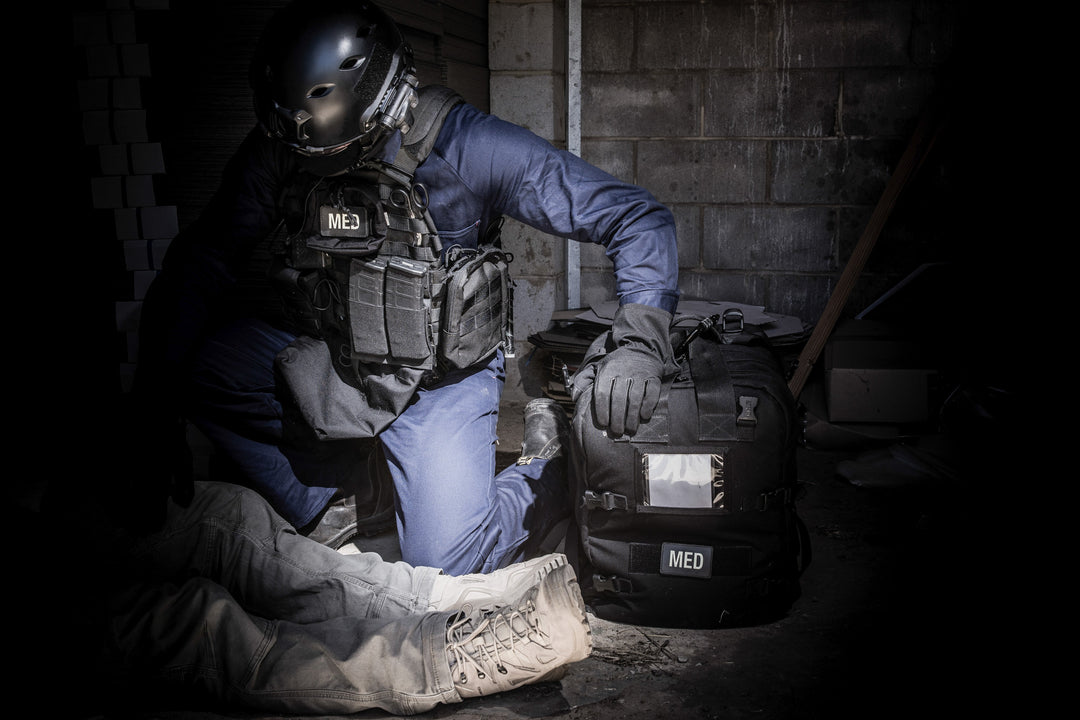
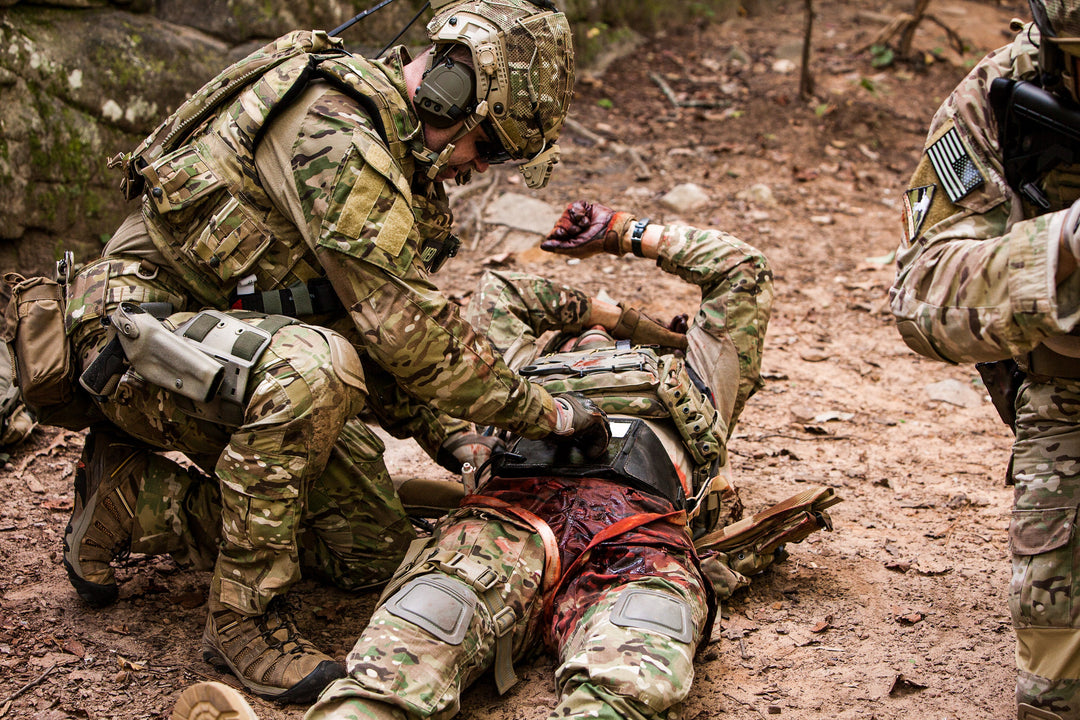
Tactical and IFAK bags are designed to carry, protect, and deploy medical equipment in high-risk and operational environments. Used across military, law enforcement, and tactical response settings, these bags prioritise durability, accessibility, and secure mounting.
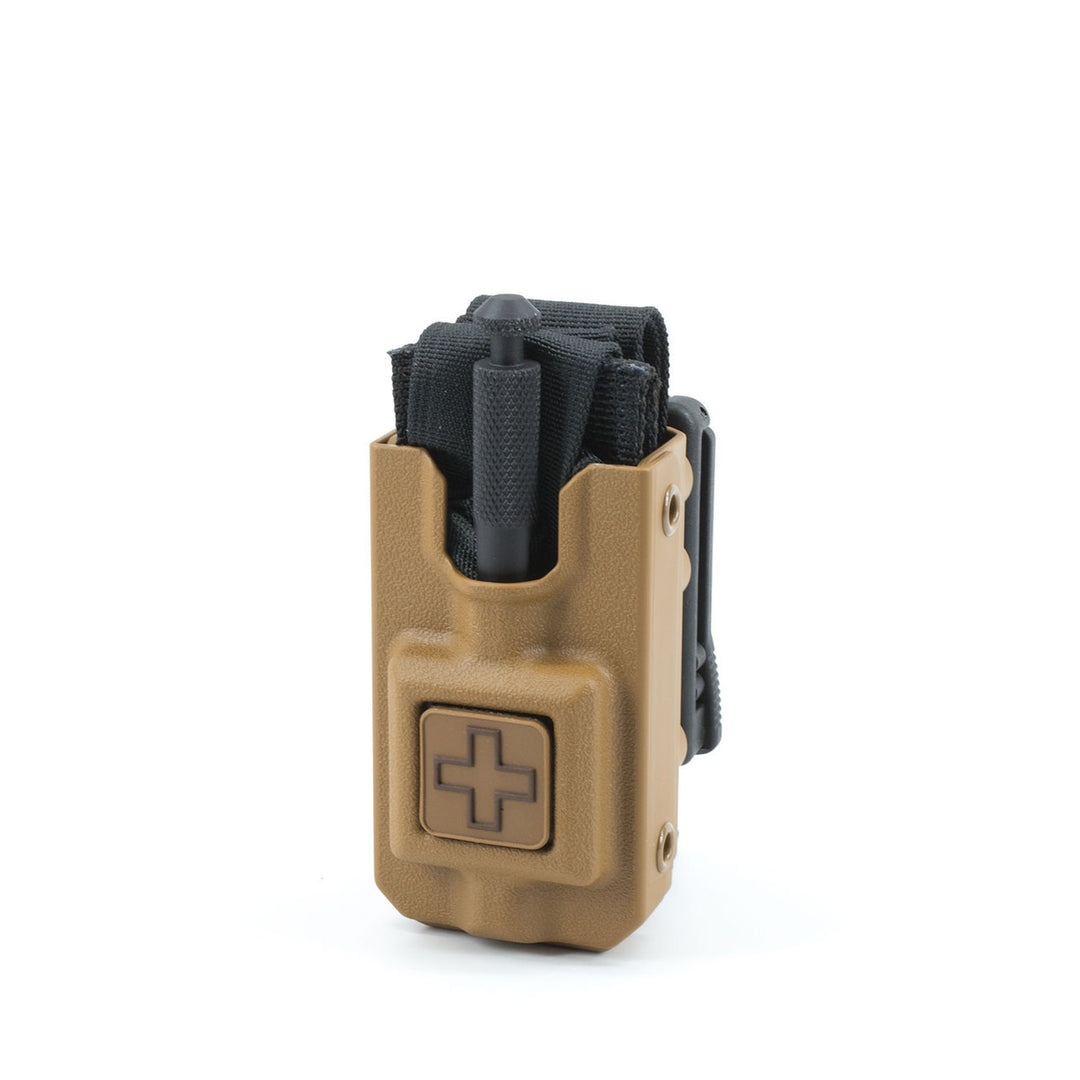
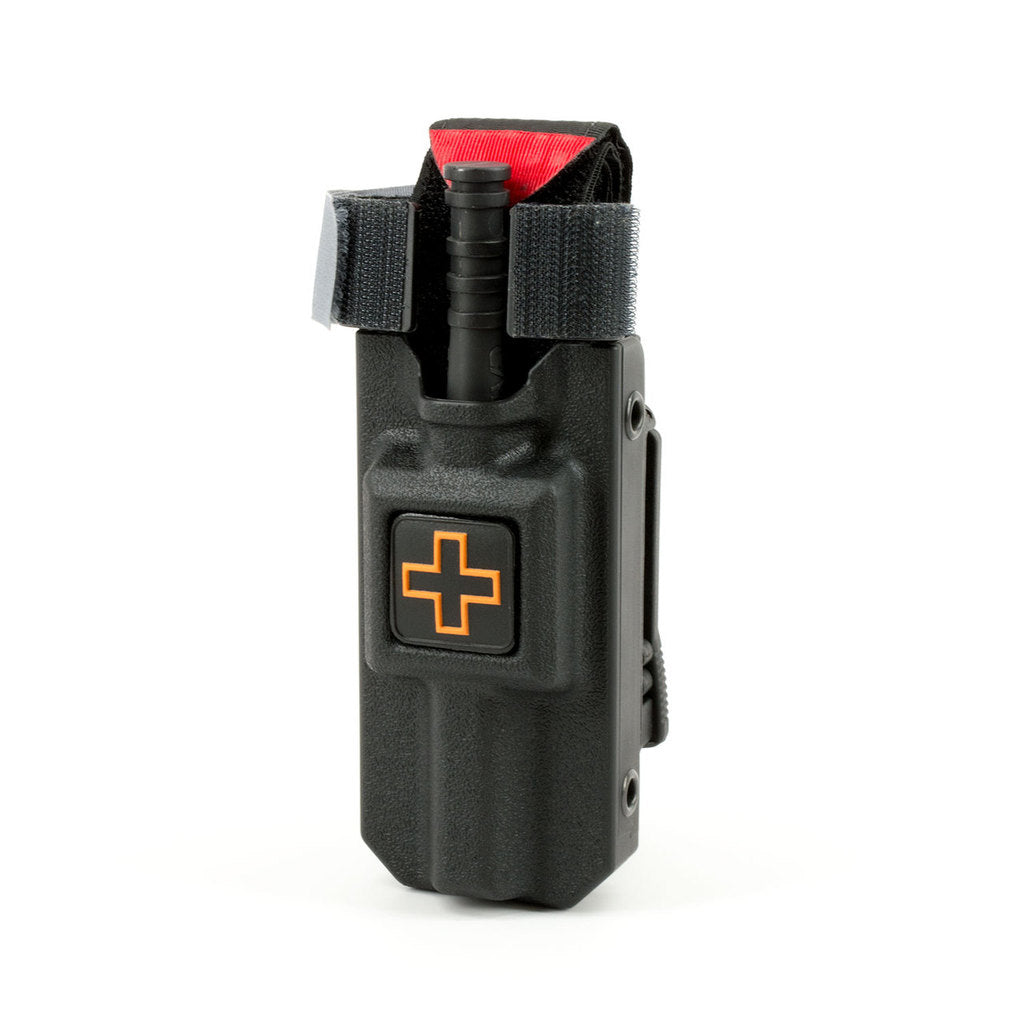
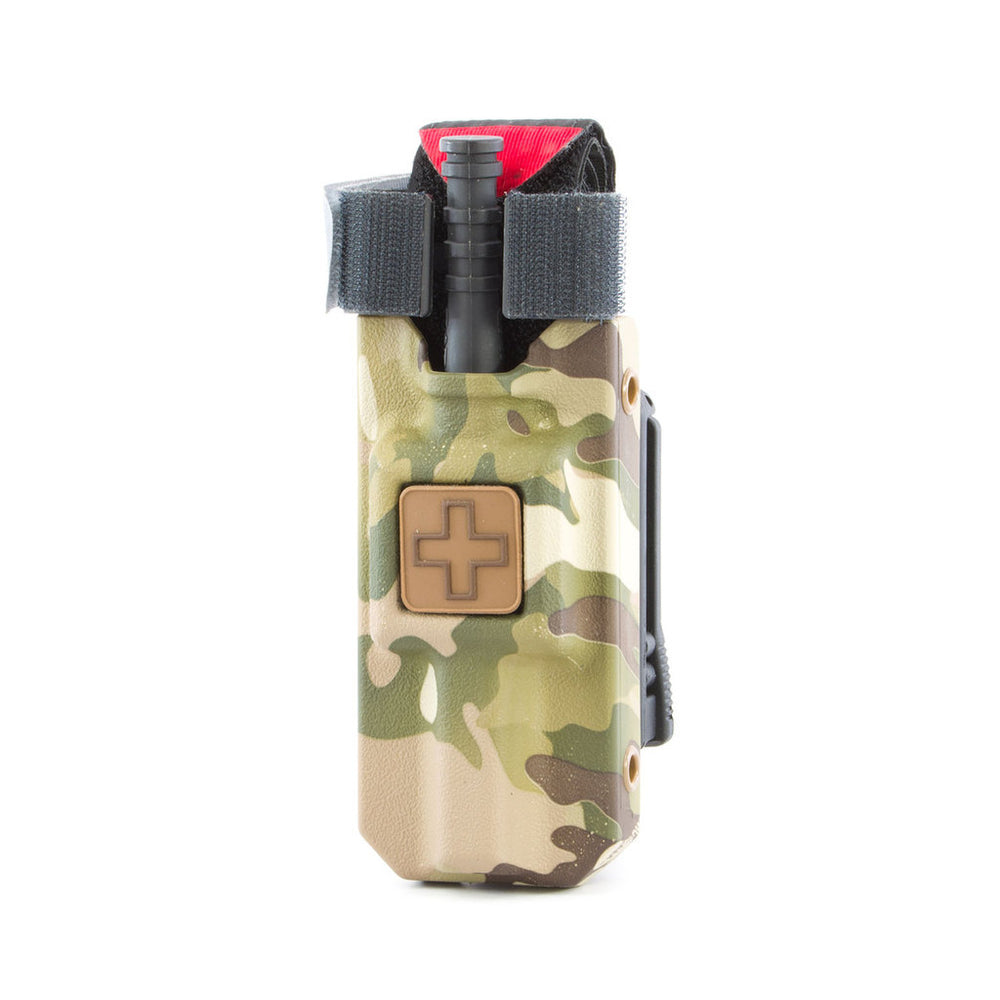
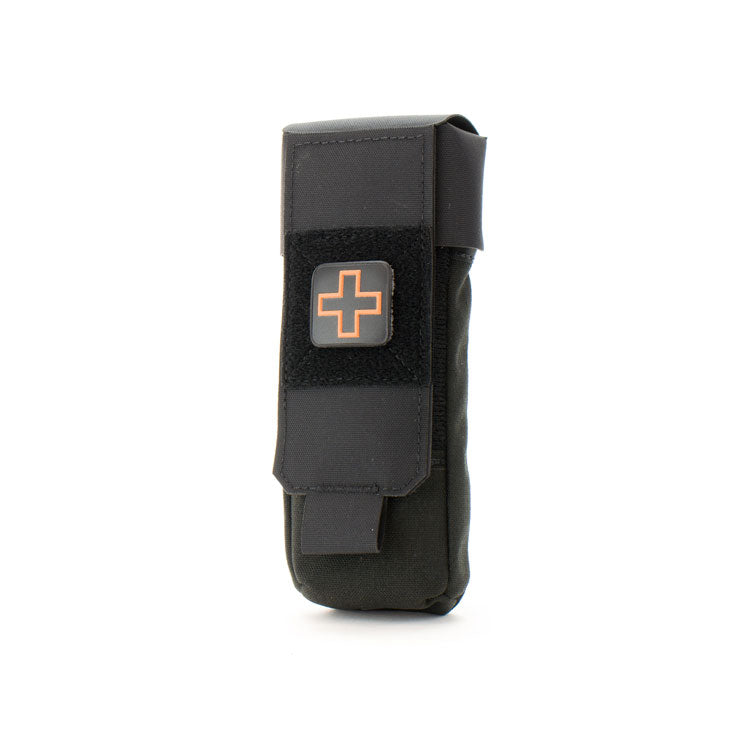
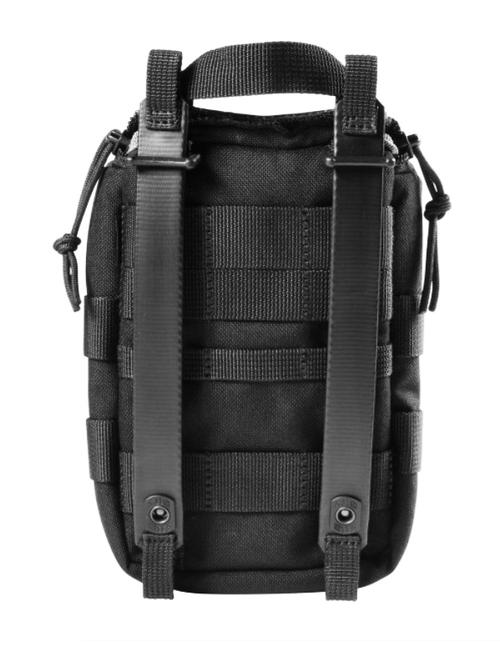
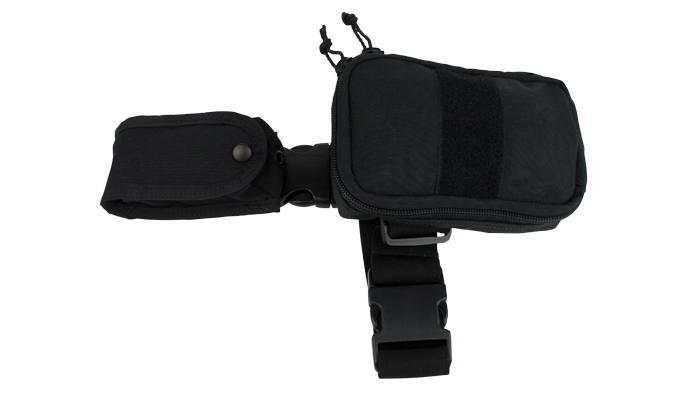
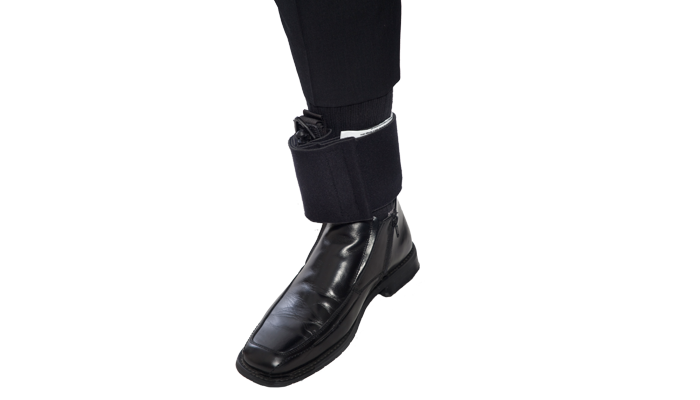
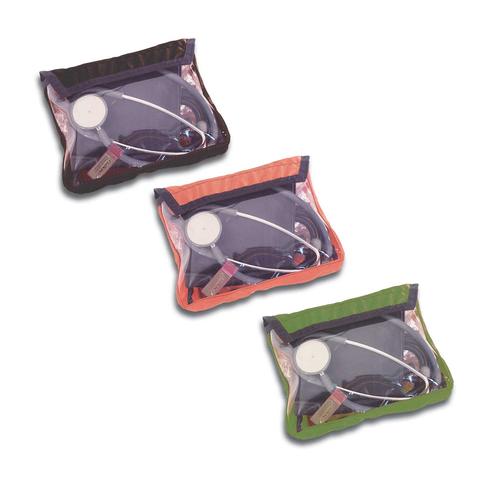
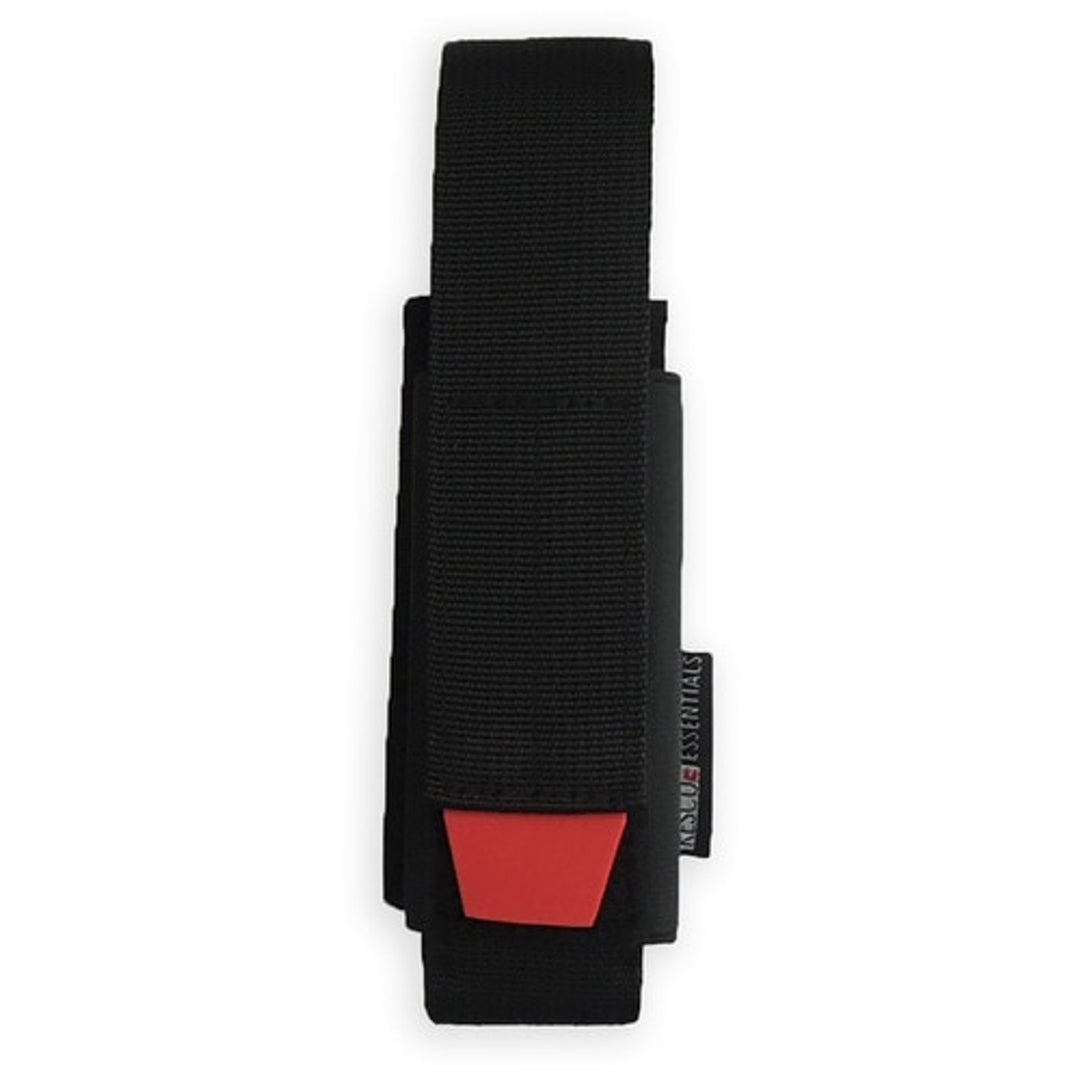
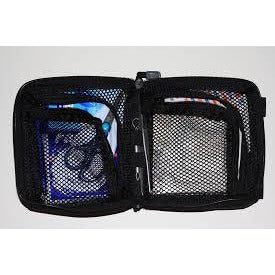
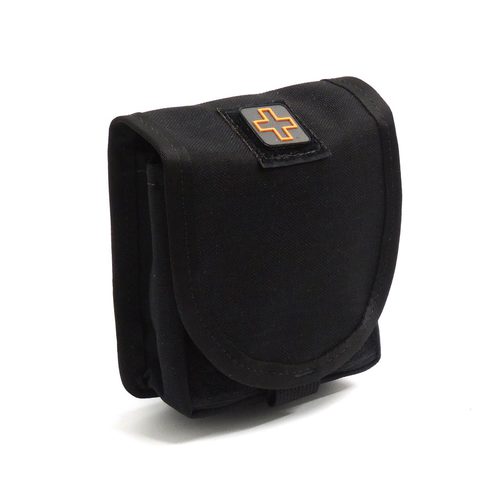
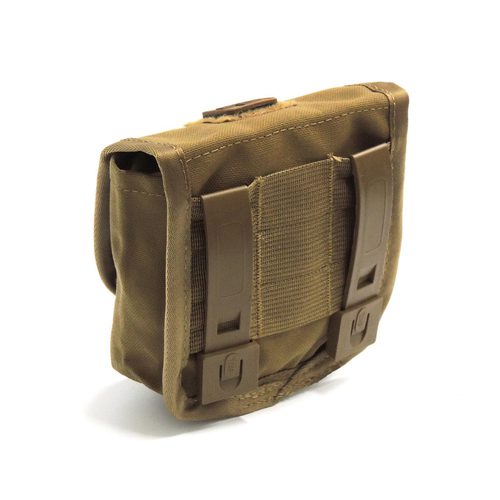
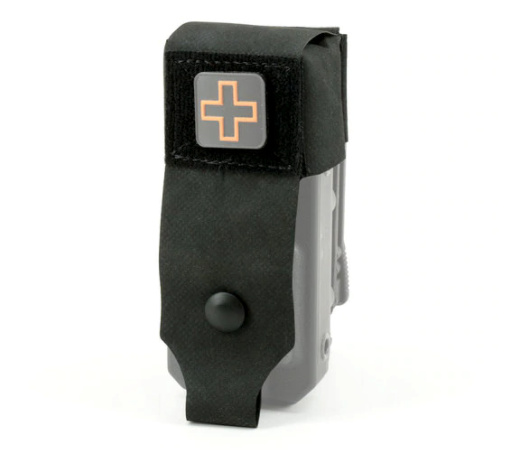
This collection includes tactical bags and pouches designed to house IFAKs, trauma supplies, and medical components. They are built for integration with belts, plate carriers, packs, and vehicles — supporting rapid access without functioning as medical kits themselves.